Boiling a mouthguard is a simple process to customize its fit for optimal protection and comfort during sports or teeth grinding. The boil-and-bite method softens the material, allowing it to mold to your teeth for a secure fit. Properly boiling ensures the mouthguard provides maximum protection and comfort, making it an essential step for athletes and individuals needing dental protection.
Importance of a Properly Fitted Mouthguard
A properly fitted mouthguard is crucial for ensuring comfort, protection, and optimal performance during sports or activities. A poorly fitted mouthguard can cause discomfort, reduce protection, and lead to difficulties in breathing or speaking. By boiling and molding the mouthguard to your teeth, you achieve a secure fit that stays in place, providing maximum protection against dental injuries. A well-fitted mouthguard also enhances comfort, allowing you to focus on your performance without distractions. Proper fit ensures the mouthguard does not slide, offering reliable protection for your teeth and gums during impact or grinding.
Overview of the Boil-and-Bite Process
The boil-and-bite process is a method to customize a mouthguard for a perfect fit. It involves softening the thermoplastic material in boiling water, making it pliable for molding. Once softened, the mouthguard is placed in the mouth, and the user bites down to create an impression of their teeth and gums. The material then cools and hardens, retaining the shape for a secure, personalized fit. This process ensures the mouthguard stays in place during activities, offering reliable protection and comfort. Boil-and-bite mouthguards are cost-effective and provide better protection than pre-molded options, making them a popular choice for athletes.
Materials Needed for Boiling a Mouthguard
Boiling a mouthguard requires a pot, water, and utensils like tongs or a slotted spoon. A mirror is helpful, and optional items include a thermometer and ice water.
Essential Items: Pot, Water, and Utensils
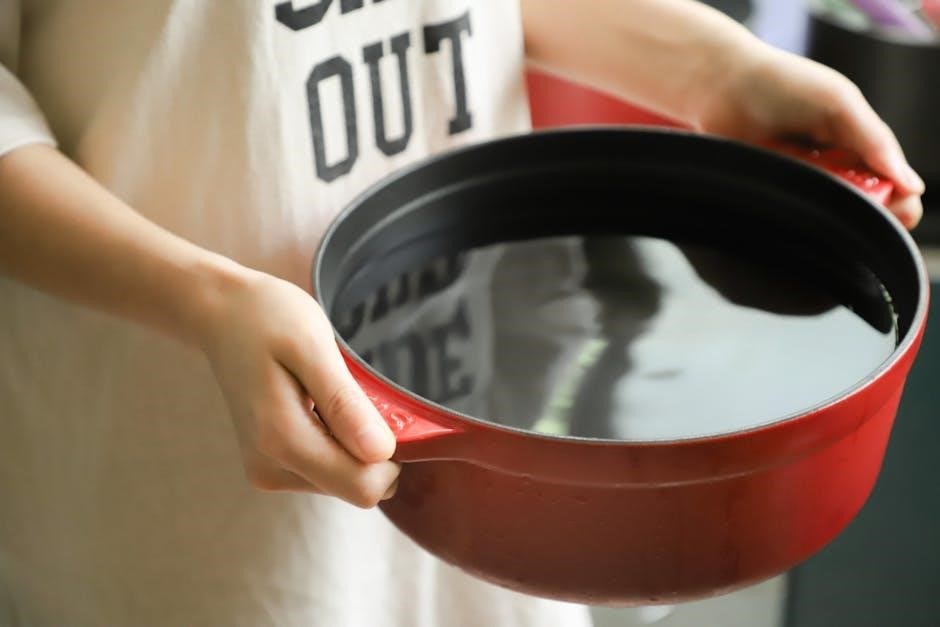
A pot is necessary to boil water, ideally small to minimize water usage. Fill it with enough water to fully submerge the mouthguard. Use utensils like tongs or a slotted spoon to safely handle the mouthguard without causing damage. These tools are crucial for softening the mouthguard evenly and preventing it from sticking to the pot. Ensure the pot is large enough to avoid overflow but not so large that it wastes water. The right balance of water and utensils ensures the boiling process is efficient and safe, making these items indispensable for achieving the perfect fit.
Recommended Tools: Tongs, Slotted Spoon, and Mirror
Tongs or a slotted spoon are essential for safely submerging and retrieving the mouthguard without causing damage. They prevent the mouthguard from touching the pot’s bottom, which could burn or distort it. A mirror is helpful for seeing the mouthguard’s positioning during the fitting process, ensuring proper alignment with your teeth and gums. These tools enhance safety and precision, making the boiling and fitting process more efficient. Using them helps avoid common mistakes, such as overheating or improper placement, ensuring a secure and comfortable fit. They are key to achieving the best results from the boil-and-bite method.
Optional Items: Thermometer and Ice Water
A thermometer can be useful to monitor the water temperature, ensuring it doesn’t exceed the manufacturer’s recommended range. This helps prevent overheating, which can damage the mouthguard. Ice water is another optional item, used to quickly cool and set the mouthguard’s shape after fitting. Submerging the mouthguard in ice water hardens the material, securing its customized fit. While not required for all models, these tools enhance precision and safety, especially for first-time users. They are recommended for achieving the best results and maintaining the mouthguard’s integrity during the boiling and fitting process.

Step-by-Step Guide to Boiling a Mouthguard
A step-by-step guide to boiling a mouthguard involves boiling water, softening the guard, cooling it briefly, and carefully fitting it for a secure, customized fit.
Preparation: Reading Manufacturer Instructions
Before boiling, always read the manufacturer’s instructions for specific guidelines, as different brands may have unique requirements. Ensure the mouthguard is designed for boiling, as not all models are suitable. Check recommended boiling times, typically between 30 to 60 seconds, and any specific temperature guidelines. Some brands may suggest using a thermometer for accuracy; Understanding these steps helps avoid overheating or damaging the material. Proper preparation ensures a safe and effective fitting process, maximizing comfort and protection. Failure to follow instructions may result in a poor fit or material degradation. Start with this critical step to achieve the best results.
Boiling Water: Heating to the Correct Temperature
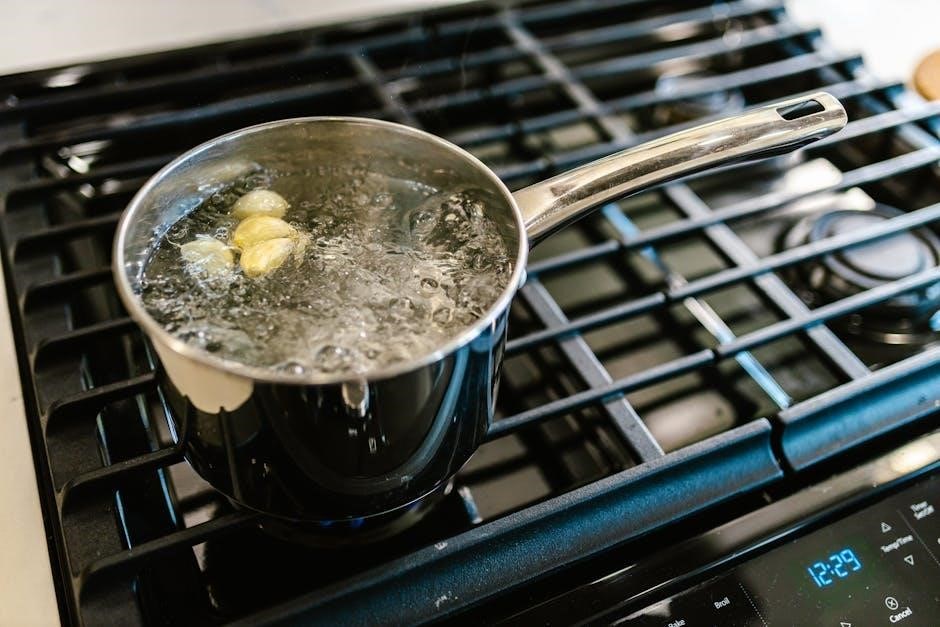
Fill a pot with enough water to fully submerge the mouthguard. Bring the water to a rolling boil on the stove or in the microwave. Ensure the water reaches the appropriate temperature, typically around boiling point, to soften the thermoplastic material. Some brands recommend using a thermometer for precise control. Once boiling, remove the pot from the heat source and let it cool for 30 seconds to 1 minute to prevent overheating. This step ensures the mouthguard softens evenly without losing its structural integrity. Proper temperature control is crucial for achieving the ideal pliability for molding.
Softening the Mouthguard: Submerging in Boiling Water
Once the water has reached a boil, carefully submerge the mouthguard into the boiling water using tongs or a slotted spoon. Ensure it is fully covered by the water. Allow it to soften for 30 to 60 seconds, depending on the manufacturer’s instructions. Avoid leaving it in for too long, as overheating can cause the material to become too pliable or lose its shape. After the recommended time, promptly remove the mouthguard from the boiling water using the utensils. It’s crucial to handle it gently to maintain its structure and prepare it for molding. Some brands may specify shorter or longer soaking times, so always refer to the product’s guidelines. Proper softening ensures the mouthguard will mold effectively to your teeth for a secure fit.
Cooling the Mouthguard: Allowing It to Cool Before Fitting
Cooling the mouthguard is a crucial step after boiling. Remove it from the boiling water with tongs or a slotted spoon and let it cool for about 5 to 10 seconds. This prevents burns when fitting it into your mouth. For some models, submerging the mouthguard in ice water is recommended to quickly set its shape. Allowing it to cool slightly ensures the material retains its structure while remaining pliable enough for molding. Proper cooling is essential for a comfortable and secure fit, ensuring the mouthguard adheres correctly to your teeth and gums for maximum protection.

Fitting the Mouthguard
Fitting the mouthguard involves positioning it in your mouth, biting down gently to create an impression, and using finger pressure to shape it to your gums. Proper fitting ensures comfort and security, providing optimal protection during sports or nighttime teeth grinding.
Positioning the Mouthguard in the Mouth
Positioning the mouthguard correctly is crucial for both comfort and protection. Start by placing the mouthguard over your upper teeth, ensuring it covers all teeth and aligns with the gum line. For models designed for the lower jaw, center it over the lower teeth. Use a mirror to guide placement if needed. Proper alignment ensures even pressure distribution and prevents shifting during use. Once in place, gently close your mouth to secure the mouthguard, making sure it fits snugly without causing discomfort or restricting speech or breathing.
Biting Down to Create an Impression
After positioning the mouthguard, bite down firmly to create an impression of your teeth. Use steady, uniform pressure to mold the softened material around your dental structure. Avoid using excessive force, which could distort the shape. For a secure fit, press the mouthguard against your gums with your fingers, ensuring it adapts to the contours of your mouth. Gently suck in to create a tight seal, then hold the bite for a few seconds. This step ensures the mouthguard conforms to your teeth and gums for optimal protection and comfort during use.
Shaping the Mouthguard with Finger Pressure
After biting down, use your fingers to gently press the mouthguard against your gums and teeth, ensuring it molds to your mouth’s contours. Focus on areas needing adjustment, applying firm but gentle pressure. A mirror can help you see the fit clearly. This step ensures the mouthguard is snug and comfortable, providing optimal protection. Be careful not to apply too much pressure, which could distort the shape. Once satisfied, place the mouthguard in ice water to set the shape permanently. This step finalizes the customization, ensuring a secure and lasting fit for your teeth and gums.
Setting the Shape: Placing in Ice Water
After shaping the mouthguard with finger pressure, immediately submerge it in ice water to set the shape. This step is crucial as it cools and hardens the material, ensuring the impression of your teeth and gums is preserved. The cold water stops the mouthguard from softening further and locks in its new contours. Leave it in the ice water for about 30 seconds to achieve the desired rigidity. Once set, remove it and inspect the fit. This final step ensures the mouthguard retains its customized shape, providing long-lasting protection and comfort during use.

Testing and Adjusting the Fit
After fitting, test the mouthguard for comfort and security. If it feels loose or uncomfortable, repeat the boiling and fitting process to achieve the perfect fit.
Checking for Comfort and Security
After fitting, ensure the mouthguard feels comfortable and secure. It should not slide or cause discomfort. Check if it covers all teeth properly and fits snugly against the gums. If it feels loose or uneven, reheat and reshape it. Proper fit ensures maximum protection during sports or grinding. A well-fitted mouthguard should stay in place without moving, providing confidence and safety. If adjustments are needed, repeat the boiling process, but avoid overheating to prevent material degradation. The goal is a balance of comfort and security for optimal performance.
Repeating the Process for a Better Fit
If the mouthguard doesn’t fit perfectly after the first attempt, it can be reheated and reshaped. Reheat it in boiling water for the recommended time, then let it cool slightly before attempting another impression; Be cautious not to overheat, as this can weaken the material. Each repetition should aim for a more precise fit, ensuring comfort and protection. However, avoid excessive reheating, as it may degrade the mouthguard’s structure. With patience, you can achieve a secure, customized fit that meets your needs for optimal protection during sports or other activities.

Safety Tips and Precautions
Avoid overheating the mouthguard, as it can damage the material. Use tongs or a slotted spoon to handle it safely. Let it cool slightly before fitting to prevent burns. Never leave it in boiling water too long, as it may become too soft and lose its shape. Always follow the manufacturer’s instructions to ensure the mouthguard remains durable and effective. Proper care during the boiling process helps maintain its integrity and longevity.

Avoiding Overheating the Mouthguard
Overheating can damage the mouthguard, making it too soft or misshapen. Always follow the manufacturer’s recommended boiling time, typically between 30 to 60 seconds. Remove it promptly and let it cool slightly before fitting. Using a thermometer ensures water doesn’t exceed the material’s safe temperature. Avoid overheating, as it weakens the structure and reduces protection. If the mouthguard becomes too pliable, it may not hold its shape properly after cooling. Proper temperature control is crucial for maintaining the integrity and effectiveness of the mouthguard. Never exceed the boiling time specified in the instructions to prevent permanent damage;
Preventing Damage to the Material
To prevent damaging the mouthguard material, handle it with care during the boiling process. Use tongs or a slotted spoon to submerge and remove it from hot water, avoiding direct contact with the pot’s bottom or sides. Never use hot water or harsh chemicals for cleaning, as they can degrade the material. Instead, rinse with cold water and gently scrub with mild soap. Avoid excessive boiling, as repeated heating can weaken the structure. Store the mouthguard in a ventilated case to prevent warping or bacterial growth. Regularly inspect for wear or damage, replacing it if necessary to ensure optimal protection and longevity.
Common Mistakes to Avoid
Common mistakes when boiling a mouthguard include overheating, which can damage the material, and not following the manufacturer’s instructions. Overheating softens the mouthguard excessively, causing it to lose shape and provide inadequate protection. Another mistake is not allowing the mouthguard to cool sufficiently before biting, which can lead to burns. Additionally, using the wrong tools to handle the mouthguard can cause punctures or stretching. Repeated boiling attempts can degrade the material over time. Always adhere to the recommended boiling time and cooling period to ensure a proper fit without compromising the mouthguard’s integrity and longevity.

Care and Maintenance
Regularly rinse your mouthguard with cold water and clean it with mild soap to maintain hygiene. Store it in a ventilated case to prevent bacterial growth and odors. Avoid using hot water or harsh chemicals, as they can damage the material. Replace your mouthguard if it becomes disfigured or no longer fits securely, typically every 6 to 12 months. Proper care ensures durability and continued protection for your teeth and gums.
Cleaning the Mouthguard
Cleaning your mouthguard is essential for maintaining hygiene and preventing bacterial growth. After each use, rinse it thoroughly with cold water to remove any debris. For a deeper clean, use a soft toothbrush and mild soap, gently scrubbing all surfaces. Avoid using hot water, toothpaste, or harsh chemicals, as they can damage the material. Regular cleaning ensures the mouthguard remains fresh and effective. Proper maintenance also involves storing it in a well-ventilated case to prevent odors and moisture buildup. By following these steps, you can extend the lifespan of your mouthguard and keep it in optimal condition for continued protection.
Storing the Mouthguard Properly
Proper storage of your mouthguard is crucial to maintain its shape and hygiene. Use a well-ventilated case to keep it dry and prevent bacterial growth. Avoid exposing it to direct sunlight or heat sources, as this can warp the material. Regularly inspect the mouthguard for any signs of damage or wear. If it becomes deformed or uncomfortable, it may be time to replace it. Proper care ensures your mouthguard remains effective and comfortable for a longer period.
Boiling a mouthguard ensures a customized fit, enhancing comfort and protection for teeth and gums. Properly following the process guarantees long-term durability and optimal performance during sports or grinding.
Benefits of a Properly Boiled Mouthguard
A properly boiled mouthguard offers enhanced comfort and protection by conforming to your teeth and gums. This customization ensures a secure fit, reducing the risk of dental injuries. It also improves breathing and speaking, making it ideal for athletes. The boil-and-bite process allows for personalization, providing better protection compared to generic models. Proper boiling ensures the material is neither too rigid nor too soft, offering the right balance of durability and adaptability. This method is cost-effective and provides long-lasting protection, making it a practical choice for those needing a reliable mouthguard.
Final Tips for Long-Term Use
To ensure your mouthguard lasts longer, clean it regularly with cold water and mild soap. Avoid using hot water or toothpaste, as they can damage the material. Store it in a ventilated case to maintain hygiene. Replace your mouthguard every 6 to 12 months or when it shows signs of wear, such as deformation or discomfort. Regularly inspect for damage and replace immediately if compromised. Proper care ensures your mouthguard remains effective and comfortable, providing ongoing protection for your teeth and gums during sports or nighttime grinding.
